Styling how-tos
Simple braids, from a loose plait to a salon plan
Learn a loose three-strand braid, compare French, Dutch and installed styles, and plan sectioning, comfortable hold and take-down.
Upkeep: Simple loose braids are removed and remade as needed. Cornrows or individual installed braids require a separate provider plan for installation, cleansing, maintenance and take-down.
Effort is a planning estimate. The specific option and your routine change the commitment.

The starting point
Start with a loose three-strand braid if you want an everyday style you can practise yourself. A French or Dutch braid adds hair as you work along the head; cornrows and individual installed braids involve additional technique and planning. Choose the result and commitment before deciding which method to learn or book.
Compare the visual directions
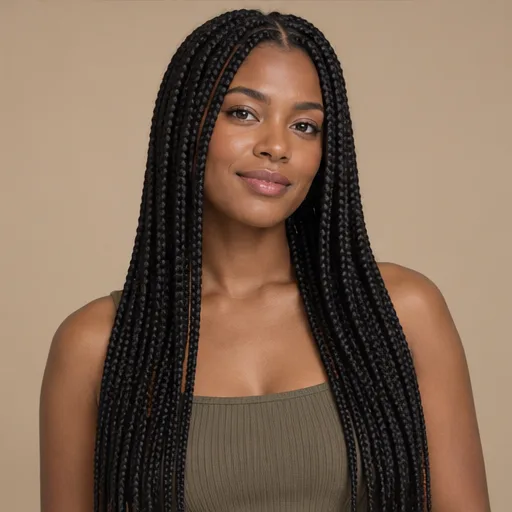
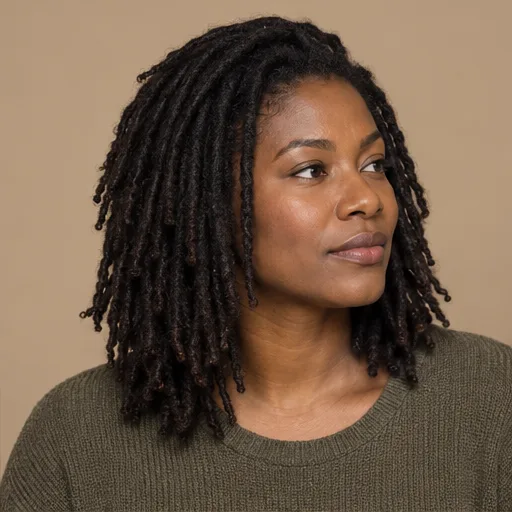
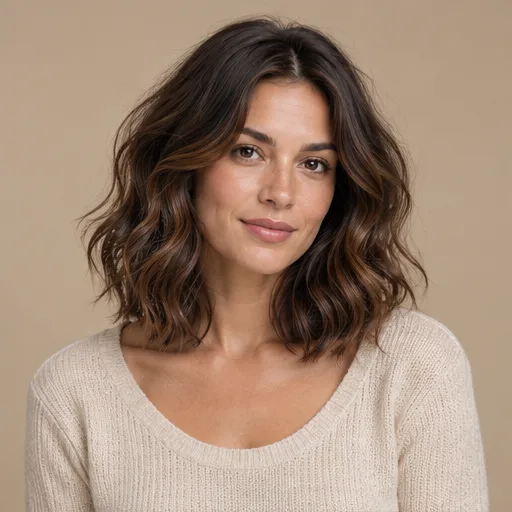
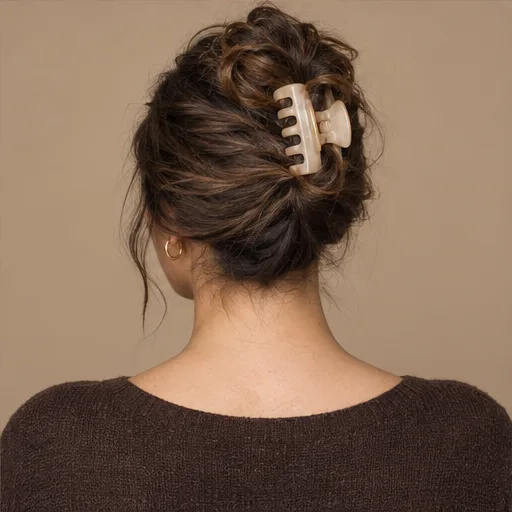
Concept references for shape and placement. Use the differences you like in your consultation; these are not step-by-step results or predictions for your hair.
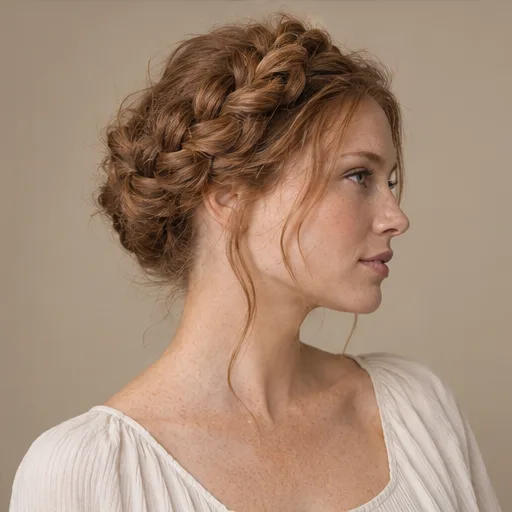
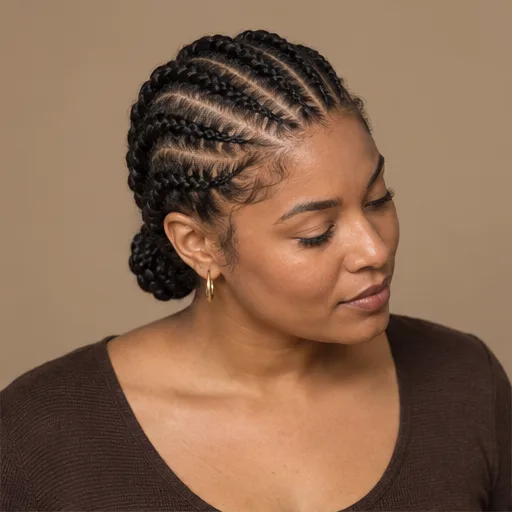
Compare your options
One loose nape braid
Simple and compact, with a clear central shape. It requires more common gathering length than two braids and can leave short face-framing layers free.
Ask about: Will my shortest layers reach the nape comfortably, or should I leave them out?
Two loose braids
A practical option for separating long or dense hair. It takes more parting but keeps each braid easier to handle. The finished part is a visible design choice.
Ask about: Where should the part sit, and how can I avoid pulling the shorter edges?
Scalp-following or installed braids
Choose these for a defined section pattern or a longer-wear plan. Technique, access for care and take-down are essential parts of the appointment, not optional extras.
Ask about: What size and length will be comfortable, how will I care for the scalp, and when should we reassess or remove the style?
Choose a useful first braid
A single braid needs enough length to gather at the nape and cross several times without dragging shorter layers into place. Two braids divide the weight and can contain shorter side pieces. For a bob, a small side braid may be more practical than trying to include the entire head. Escaping pieces do not make a braid unsuccessful; decide whether they can remain loose.
Use a mirror, sectioning clips, a comb for parting and soft ties. Begin with detangled hair in a condition you can handle comfortably: dry or lightly damp for many straight and wavy styles, or damp and sectioned for curlier textures. Allow an estimated 10–20 minutes for two beginner braids, with extra practice time. If the hair starts damp, add separate drying time before covering or sleeping on the finished style.
Make a loose three-strand braid
Practise below the ear where you can see your hands, then move the same sequence to the nape. Keep the strands separated so you do not accidentally braid tangles into the ends.
- Part the hair for one or two braids. Clip the unused side away. Gather the first section without pulling the hairline flat.
- Divide it into three similar portions: left, middle and right. Hold each so it can move independently. If one portion contains many short layers, redistribute some hair before beginning.
- Cross the right portion over the middle. The old right portion becomes the new middle. Cross the left portion over that new middle.
- Repeat the alternating crossings, keeping your hands near the newest crossing. Gently separate the loose ends between crossings so they do not knot together underneath.
- Stop before the ends become too thin or short to cross neatly. Secure with a soft tie and check that you can move your head without feeling pull at the roots.
- For a fuller outline, ease the outer edges of a few braid loops outward a little. Support the braid while doing this so you are not transferring the pull to the scalp.
Understand the next level
For a French braid, add a small nearby section to an outer strand before crossing it over the middle. For a Dutch braid, the crossing goes underneath. Both require learning section control as well as the crossing sequence, so practise on one side before planning a time-sensitive event. A braid following the head is not automatically a cornrow; technique, sectioning and the intended finished style matter.
If you want cornrows, box braids or another installed style, discuss the size, length, added hair, scalp access, maintenance and take-down before booking. Ask to see a relevant technique demonstration or the stylist's own comparable work. Do not treat an installation as an indefinitely wearable version of this simple braid. The protective-styles guide goes into that separate decision.
Adjust and troubleshoot
On very straight hair, a braid may loosen quickly; try a smaller starting section or a little familiar hold product rather than pulling harder. On curls and coils, decide whether you want to preserve texture in the braid or start from a gently stretched state. Neither requires straightening as a universal first step. Short layers can remain out or be held with a comfortable side clip.
If the braid twists, check whether the three portions are similar and whether your hands keep changing height. If the ends tangle, pause and separate them before the next crossing. To remove a braid, take off the tie and reverse the crossings from the bottom upward rather than pulling through it. Pain, stinging or scalp tenting means change the style; AAD explains at aad.org source.
Take this to your appointment
A starting point for your brief
I want ___ braids with a ___ part and a finished length around ___. Please explain the technique, whether added hair is needed, the likely appointment length, scalp-care access and take-down. I want my edges left comfortable and a clear plan if any area pulls.
Use this in my briefAdapt the wording to your own hair, preferences and history.
Common questions
Must braids be tight to look neat?
No. Neat sectioning and a consistent crossing pattern create order. Extra root tension is not a substitute for either.
Can I braid a short bob?
Often you can make a small side braid or partially braid the front. A full nape braid depends on the actual layer lengths, not simply the haircut's name.
Sources & further reading
Sources accessed 3 October 2026. These publishers have not reviewed this guide. Our editorial standards explain our method.