Styling how-tos
Twist-out or braid-out: choose the set and learn the release
Compare two-strand twists with three-strand braid sets. Follow preparation, setting, full drying and gentle take-down, then solve uneven definition.
Upkeep: Include both setting and take-down in your time plan. A set that stays damp inside needs more drying time; do not compensate by repeatedly tightening or reworking it.
Effort is a planning estimate. The specific option and your routine change the commitment.
The starting point
A twist-out releases a two-strand twist set; a braid-out releases a three-strand plait set. The first often gives a rounder rope-like grouping, while the second can leave a more angular repeated bend. Your own texture, section size and starting state still influence the result. Neither method permanently changes the hair.
Compare the visual directions
Concept references for shape and placement. Save the specific look you like and open its details. These are starting points for a consultation.
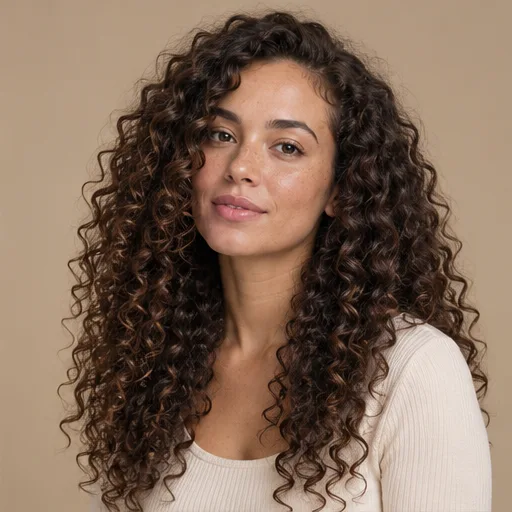
Defined loose twist-out direction
Rounder grouped definition builds a loose medium-length silhouette.
Moderate styling effort · Medium lengthDetails & styling for Defined loose twist-out direction
Choose it for: A released-set look with definition and volume held in balance.
Think about: The photo is an outcome reference. Your texture, section size and starting state affect the actual twist-out.
A routine to discuss
- Make a comfortable two-strand twist set in manageable sections.
- Let the full set dry before unraveling.
- Separate gradually until the balance of definition and fullness suits you.
Upkeep: Change one setting variable at a time when refining the routine.
Your salon request: I like these grouped curls with ___ fullness. Show a section size and release method I can repeat.
Use this look in my brief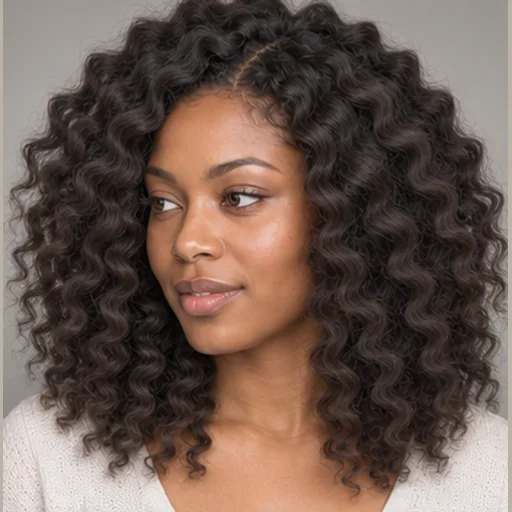
Released set with repeated S-shaped bends
Repeated bends give a stretched, looser-looking surface while retaining volume.
Moderate styling effort · Medium lengthDetails & styling for Released set with repeated S-shaped bends
Choose it for: A braid-out direction with softer repeated waves.
Think about: This image does not prove a setting method or predict your exact pattern. Your own braid size and texture change the result.
A routine to discuss
- Make ordinary three-strand plaits in manageable sections.
- Allow each section to dry fully before release.
- Unravel from the ends and separate only as much as needed.
Upkeep: Include setting, drying and release in the time plan.
Your salon request: I like this repeated bend and ___ amount of volume. Help me choose the section size for a braid set.
Use this look in my brief
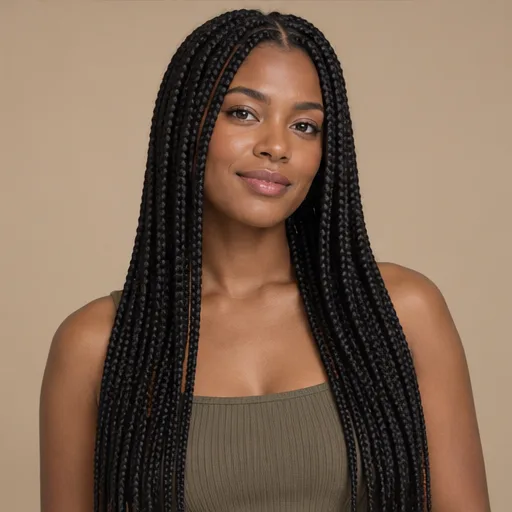
Medium two-strand twists
Individual rope-like twists retain a clearly separated arrangement through the medium length.
Moderate styling effort · Medium lengthDetails & styling for Medium two-strand twists
Choose it for: An organised twist pattern that can be the finished style.
Think about: Added hair and attachment cannot be assumed from a photograph. Ask what construction suits your starting point.
A routine to discuss
- Divide manageable sections without pulling the roots.
- Wrap the two strands consistently and arrange the ends gently.
- Plan washing, drying and take-down before committing to the routine.
Upkeep: Setting and removal time count alongside daily handling.
Your salon request: I like this twist size and length. Please explain the construction, weight and care plan for my hair.
Use this look in my brief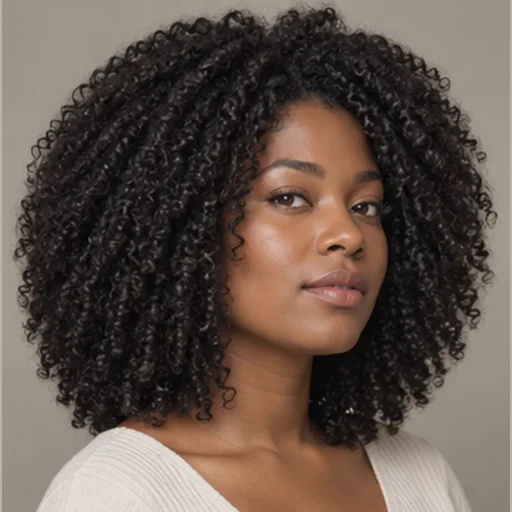
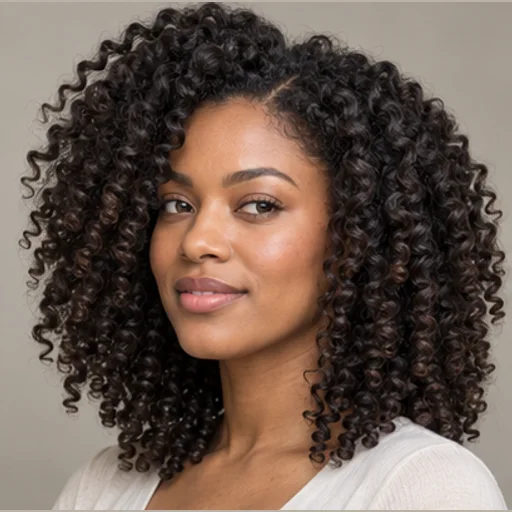
Full shoulder-length coily outline
Dense coils form a broad rounded silhouette with retained length near the shoulders.
Moderate styling effort · Medium lengthDetails & styling for Full shoulder-length coily outline
Choose it for: Fullness through the sides and lower shape in a loose natural finish.
Think about: The shown definition and grouping are part of the finish. Your shrinkage and density determine the dry outline.
A routine to discuss
- Work through manageable sections in your normal conditioning and definition routine.
- Arrange the part and desired side volume before drying.
- Lift or separate selectively once dry, stopping at the fullness you prefer.
Upkeep: Agree whether the shape is assessed in defined, stretched or softer loose texture.
Your salon request: Keep fullness at the sides and a dry endpoint at ___. I usually wear my coils ___.
Use this look in my briefCompare your options
Two-strand twist-out
Two sections wrap around each other and are released after the set is dry. Larger sections give fewer, broader groups; smaller sections require more work and can produce a more detailed pattern.
Ask about: Which section size is realistic for my density and available drying time?
Three-strand braid-out
Three strands cross in an ordinary plait, then release into a repeating bend. This may hold some sections more stretched than a loose twist, but your result will not duplicate someone else’s photo.
Ask about: Do I want the more angular bend, and how should the ends be arranged?
Larger, softer set
Fewer larger twists or braids are quicker to put in, but thick sections may take longer to dry and create less detailed separation.
Ask about: Will the middle of each section dry before I need to take it down?
Keep the twists as the style
A tidy, comfortable twist arrangement can be worn as the finished look rather than immediately separated. Decide whether the part pattern and loose ends look intentional to you.
Ask about: Do I prefer the twists themselves or the loose result after release?
Prepare the set for the time you actually have
Choose a starting state that works with your established routine. Many people set damp hair; a refreshed or stretched starting point creates a different result. The practical requirement is gentle handling and enough time for the whole section to dry before release.
Detangle in manageable sections using your usual conditioner or slip product as appropriate. Clip completed areas away. Apply a modest amount of a familiar styling product evenly rather than repeatedly adding more to a section that is already coated. The AAD distinguishes handling needs for straight and tightly curled hair at aad.org source.
Make a two-strand twist set
Work with sections that you can hold without pulling at the scalp.
- Part off one section and divide it into two reasonably even pieces. Separate tangles before twisting.
- Wrap one piece over the other repeatedly, keeping the same direction along the section. Keep the root comfortable.
- As you work down, separate the hanging ends so they do not become tangled together below your hands.
- Arrange the ends gently into the finish you want. If they repeatedly unravel, try a different section size or a suitable lightweight end support rather than adding tension at the root.
- Repeat over the head. Let the complete set dry before taking it down; the centre of a thick twist can stay damp after the surface feels ready.
Use a braid set instead
The starting sections can be similar, but each is divided into three.
- Take the right outside strand over the middle, then the left outside strand over the new middle.
- Repeat the over-crossing pattern down the section without adding loose hair from elsewhere. This is an individual plait, not a French braid.
- Keep the three strands reasonably balanced. Very unequal sections can make the lower pattern inconsistent.
- Arrange the ends gently and repeat. Allow the complete braid set to dry before release.
Release without erasing the pattern
Unravel from the ends in the opposite direction to the set. Do not rake through the whole section immediately. Let the original twist or braid divide back into its component pieces first.
For a fuller finish, separate along natural divisions a little at a time, then lift the roots gently where wanted. Stop when you like the balance between shape and definition. More separation gives more volume but can soften the set pattern; that is a styling choice, not an automatic flaw.
Troubleshoot the next set
If one area is puffy while the rest is defined, compare section size, product distribution and whether that area was dry. If the roots stay very flat, smaller root sections or a different part arrangement may be useful. If the ends look disconnected, pay attention to how they were arranged instead of retwisting the whole head tighter.
For the next attempt change one variable: starting dampness, section size, product amount or release timing. A short note about what changed makes the routine easier to refine. On a day the set does not cooperate, a loose gathered style can use the texture already there.
Take this to your appointment
A starting point for your brief
I want a twist-out / braid-out with ___ size groups and ___ fullness. Please demonstrate one comfortable section, the end arrangement and the take-down so I can repeat the sequence.
Use this in my briefAdapt the wording to your own hair, preferences and history.
Common questions
Why does it lose definition as I take it down?
The set may still be damp inside, or the strands may be separated more than the finish needs. Let the set dry fully and unravel before deciding how much extra separation to add.
Is this a permanent texture change?
No. It is a temporary set. Your natural texture, moisture and subsequent washing affect how long the arrangement remains visible.
Sources & further reading
Sources accessed 3 October 2026. These publishers have not reviewed this guide. Our editorial standards explain our method.